
Achieving perfect results in cooking and food preparation requires precise temperature control, and a reliable food thermometer serves as your most trusted ally in the kitchen. Whether you're a professional chef or a home cooking enthusiast, understanding how to maximize the accuracy of your temperature measurements can make the difference between a culinary masterpiece and a disappointing meal. The science of food safety and quality depends heavily on maintaining proper temperatures throughout the cooking process, making thermometer accuracy not just a matter of taste, but of health and safety as well.
Understanding Temperature Measurement Fundamentals
The Science Behind Accurate Readings
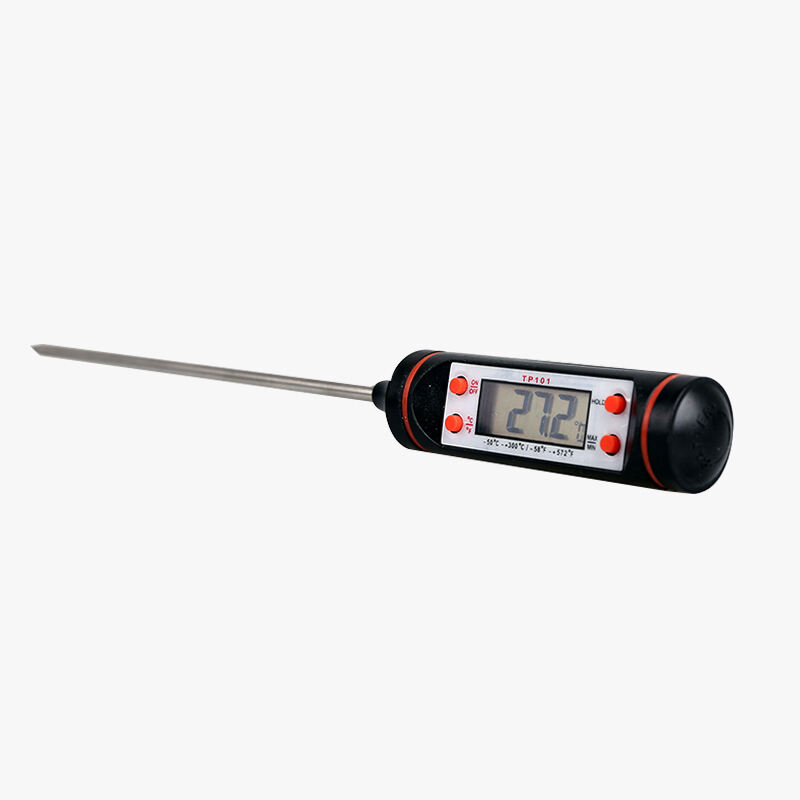
Temperature measurement in food preparation operates on precise scientific principles that directly impact the accuracy of your results. When using a food thermometer, the sensor must reach thermal equilibrium with the food being measured, which typically takes several seconds depending on the thermometer type and the density of the food. Digital thermometers use thermistors or thermocouples that convert temperature changes into electrical signals, while analog models rely on the expansion of metals or liquids to indicate temperature changes.
The accuracy of any temperature measurement device depends on several factors including calibration, response time, and environmental conditions. Professional-grade instruments often feature faster response times and higher precision, but proper technique remains crucial regardless of the equipment quality. Understanding these fundamentals helps you make informed decisions about when and how to take temperature readings for optimal results.
Factors Affecting Measurement Precision
Several environmental and technical factors can significantly impact the precision of your temperature measurements. Ambient temperature variations, humidity levels, and even altitude can influence thermometer performance, particularly with analog models. The thermal mass of the food being measured also plays a critical role, as denser items require longer probe insertion times to achieve accurate readings.
Probe placement represents perhaps the most critical factor in obtaining accurate measurements. The location where you insert the thermometer probe can vary by several degrees depending on the food type and cooking method. For example, meat temperatures can differ significantly between the center and edges, while liquids may show temperature stratification that requires careful consideration of probe depth and positioning.
Calibration Techniques for Optimal Performance
Ice Water Calibration Method
Regular calibration ensures your temperature measuring device maintains accuracy over time, and the ice water method provides a simple yet effective calibration technique. To perform this calibration, fill a container with ice and add cold water until the mixture reaches a slushy consistency. Insert your thermometer probe into the mixture, ensuring it doesn't touch the container walls or bottom, and wait for the reading to stabilize.
A properly calibrated instrument should read exactly 32°F or 0°C in this ice water bath. If your thermometer shows a different reading, note the variance and either adjust the calibration screw if available, or make mental note of the offset for future measurements. This calibration should be performed regularly, especially before important cooking sessions or after the thermometer has been subjected to extreme temperatures or physical stress.
Boiling Water Verification
The boiling water method provides an excellent secondary calibration check at the higher end of the temperature range. Bring a pot of water to a rolling boil and insert your thermometer probe into the bubbling water, again avoiding contact with the container surfaces. At sea level, the reading should indicate 212°F or 100°C, though this temperature decreases by approximately 2°F for every 1,000 feet of elevation.
This high-temperature calibration proves particularly valuable for applications involving hot cooking processes such as candy making, oil temperature monitoring, or verification of internal meat temperatures. Regular verification using both ice water and boiling water methods ensures accuracy across the entire temperature range you're likely to encounter in food preparation activities.
Proper Insertion Techniques and Timing
Depth and Angle Considerations
Achieving accurate temperature readings requires careful attention to probe insertion depth and angle, as these factors directly influence the measurement validity. For solid foods, the probe should be inserted to a depth that places the sensor in the geometric center of the thickest portion, typically requiring insertion of at least 2-3 inches depending on the food size. The angle of insertion should be perpendicular to the surface when possible, though oblique angles may be necessary for irregularly shaped items.
When measuring liquid temperatures, probe depth becomes equally important due to potential temperature layering or stratification. Hot liquids often show temperature variations between surface and bottom layers, requiring probe placement in the middle depth range for representative readings. Stirring the liquid gently before measurement can help homogenize the temperature distribution and improve measurement accuracy.
Response Time Optimization
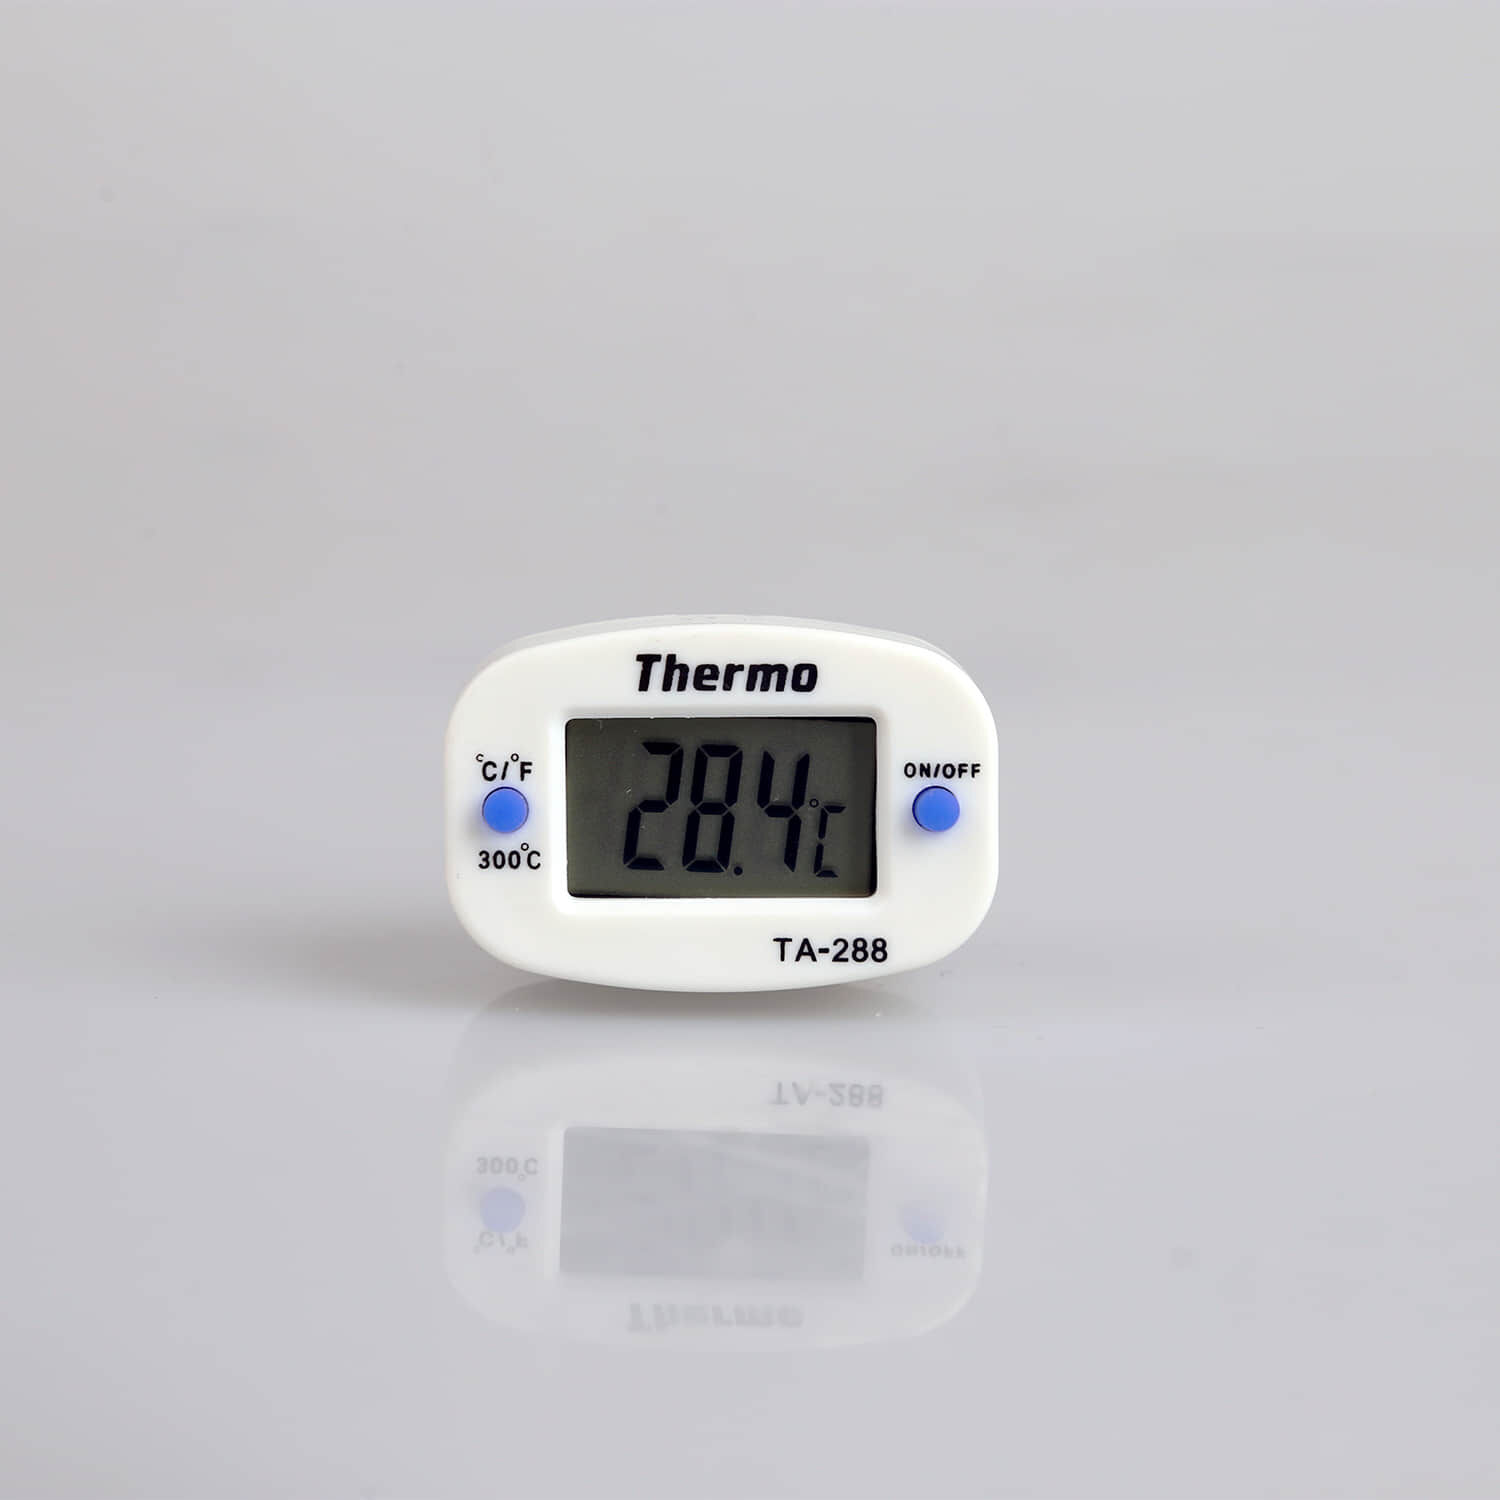
Different types of food thermometers exhibit varying response times, and understanding these characteristics helps optimize your measurement technique. Instant-read digital models typically require 10-15 seconds to stabilize, while analog dial thermometers may need 30-60 seconds for accurate readings. Professional-grade thermocouples can provide stable readings in 3-5 seconds, making them ideal for quick temperature checks during fast-paced cooking processes.
Patience during the stabilization period ensures measurement accuracy, as premature readings often result in significant temperature errors. Watch for the display to stop changing or the analog needle to cease movement before recording the temperature. For critical applications, taking multiple readings at slightly different locations and averaging the results can improve overall measurement reliability.
Application-Specific Measurement Strategies
Meat and Poultry Temperature Monitoring
Measuring internal temperatures in meat and poultry requires specific techniques to ensure both food safety and optimal quality. For whole birds, insert the food thermometer into the thickest part of the thigh, avoiding bone contact which can provide falsely high readings due to bone's heat-conducting properties. The probe should penetrate deep enough to reach the center of the meat mass, typically 2-3 inches from the surface.
Large roasts and thick steaks benefit from multiple measurement points to account for uneven cooking patterns. Check temperatures at various locations, particularly near the center and at different depths, to ensure uniform doneness throughout the piece. Remember that meat temperatures continue to rise 5-10 degrees after removal from heat due to carryover cooking, so account for this phenomenon when timing your temperature checks.
Baking and Pastry Applications
Baked goods present unique challenges for temperature measurement due to their varied textures and moisture content. For bread and cake doneness testing, insert the probe into the geometric center of the item, ensuring it penetrates to the core without touching the bottom of the baking pan. Internal temperatures of 190-200°F typically indicate proper doneness for most bread products, while cakes generally reach completion at 200-210°F.
Delicate pastries and custard-based desserts require gentler measurement techniques to avoid structural damage. Use a thin probe when possible, and consider alternative doneness indicators in conjunction with temperature readings. For items with multiple layers or fillings, check temperatures at several points to ensure uniform heat penetration and proper cooking throughout all components.
Maintenance and Storage Best Practices
Cleaning and Sanitization Protocols
Proper cleaning and sanitization of your temperature measurement equipment ensures both accuracy and food safety compliance. After each use, clean the probe thoroughly with warm, soapy water, paying particular attention to any crevices or joints where food particles might accumulate. Avoid submerging digital units beyond the waterproof rating, and never immerse the entire unit unless specifically designed for full submersion.
Sanitization becomes particularly important when measuring different types of foods sequentially, especially when transitioning between raw and cooked items. Use food-safe sanitizing solutions or alcohol wipes to disinfect the probe between uses. Allow the probe to air dry completely before storage to prevent moisture accumulation that could affect electronic components or promote bacterial growth.
Storage and Protection Guidelines
Proper storage significantly extends the lifespan and maintains the accuracy of your temperature measuring instruments. Store digital models in protective cases when available, and avoid exposure to extreme temperatures that could affect calibration or damage sensitive electronic components. Keep probe tips protected with guards or sheaths to prevent damage and maintain sharp penetration capabilities.
Battery maintenance for digital models requires periodic attention to ensure reliable operation when needed. Replace batteries according to manufacturer recommendations, and consider removing batteries during extended storage periods to prevent corrosion damage. Keep spare batteries readily available, especially in professional kitchen environments where temperature monitoring represents a critical food safety function.
Troubleshooting Common Accuracy Issues
Identifying and Resolving Reading Errors
Common accuracy issues often stem from user error rather than equipment malfunction, making proper diagnosis essential for resolution. Inconsistent readings may indicate probe damage, calibration drift, or improper measurement technique. If readings seem unusually high or low, perform immediate calibration checks using both ice water and boiling water methods to identify potential offset errors.
Slow response times or erratic readings often suggest probe contamination, moisture infiltration, or battery issues in digital models. Clean the probe thoroughly and ensure all connections remain dry and secure. For persistent accuracy problems, consult the manufacturer's troubleshooting guide or consider professional recalibration services for high-value instruments.
When to Replace Your Equipment
Recognition of when replacement becomes necessary helps maintain measurement reliability and food safety standards. Consistent calibration drift beyond acceptable limits, physical damage to probes or displays, or repeated electronic malfunctions indicate replacement time. Professional kitchens should maintain backup instruments to ensure continuous temperature monitoring capabilities during equipment transitions.
Consider upgrading to more advanced models when your cooking requirements exceed current equipment capabilities. Faster response times, wider temperature ranges, or enhanced durability features may justify replacement even when existing equipment remains functional. Document replacement schedules and maintain calibration records for quality control and regulatory compliance purposes.
FAQ
How often should I calibrate my food thermometer for accurate readings
Calibration frequency depends on usage intensity and accuracy requirements, but monthly calibration checks provide a good baseline for home users. Professional kitchens should calibrate weekly or before each service period for critical applications. Always calibrate after dropping the thermometer, exposure to extreme temperatures, or whenever readings seem inconsistent with expectations.
What is the most accurate type of food thermometer for home cooking
Instant-read digital thermometers with thermocouple sensors offer the best combination of accuracy, speed, and convenience for home cooking applications. These models typically provide readings within 1-2 degrees Fahrenheit and stabilize in 3-10 seconds. While more expensive than basic dial thermometers, their superior performance justifies the investment for serious home cooks.
Can I use the same thermometer for both meat and candy making
Yes, but ensure your thermometer covers the required temperature range for both applications. Candy making requires temperatures up to 300°F or higher, while most meat cooking stays below 200°F. Choose a thermometer rated for at least 400°F to handle both applications safely, and clean thoroughly between different uses to prevent flavor transfer.
Why do my temperature readings vary when I test the same food multiple times
Temperature variations in the same food item are normal due to uneven heat distribution during cooking. Dense foods cook from outside to center, creating temperature gradients throughout the item. Take readings from the thickest part and consider multiple measurement points for large items. Also ensure you're allowing adequate time for the thermometer to stabilize between readings.