
Installing a digital thermostat represents one of the most practical upgrades homeowners and businesses can make to improve temperature control and energy efficiency. Modern digital thermostat units offer superior precision, programmable features, and enhanced reliability compared to traditional analog models. Whether you're replacing an outdated mechanical thermostat or installing a new temperature control system, understanding the proper installation process ensures optimal performance and safety. The transition to digital temperature control technology provides immediate benefits including accurate temperature readings, customizable scheduling options, and improved HVAC system management capabilities.
Understanding Digital Thermostat Components and Requirements
Essential Components of Modern Digital Thermostats
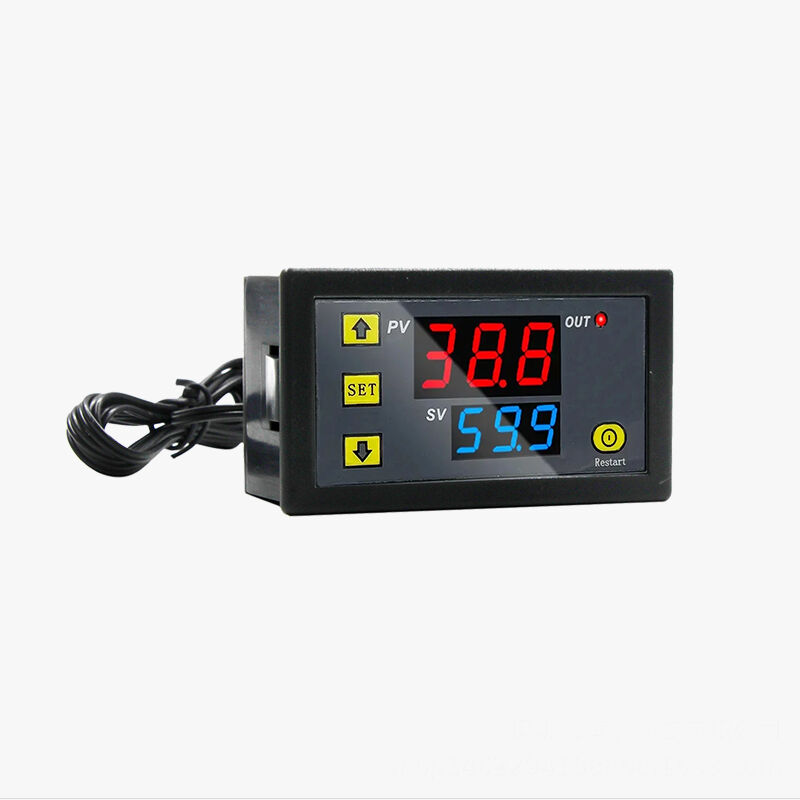
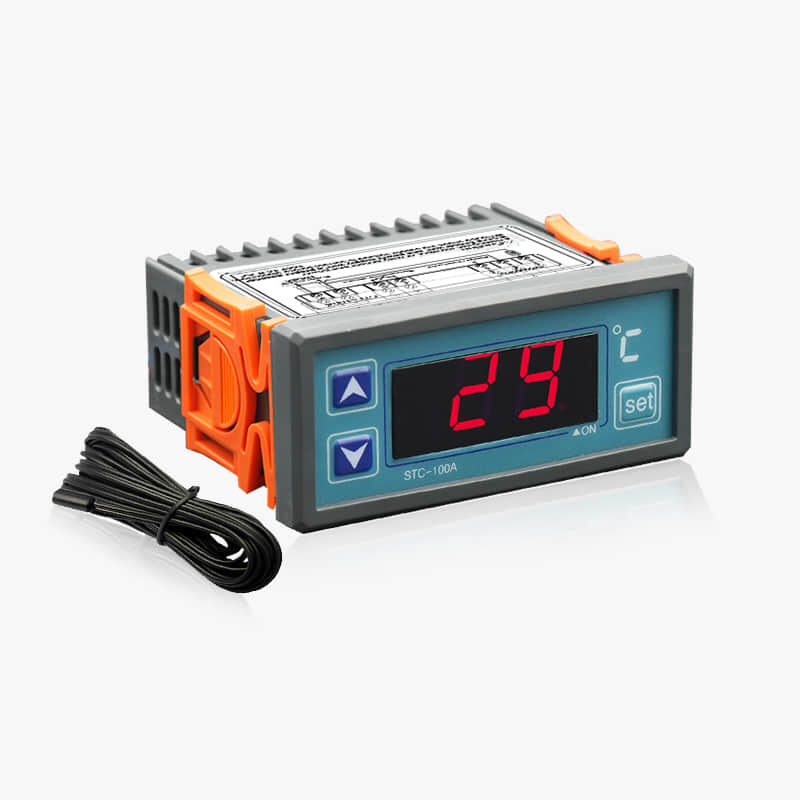
A typical digital thermostat consists of several key components that work together to provide accurate temperature control. The main display unit features an LCD or LED screen showing current temperature readings, set points, and operational modes. Internal sensors detect ambient temperature changes and communicate with the central processing unit. The control interface includes buttons or touchscreen elements for programming schedules, adjusting settings, and selecting operational modes. Power supply connections ensure continuous operation, while terminal connections link the digital thermostat to your HVAC system's control wires.
Modern digital thermostat models incorporate advanced microprocessors that enable precise temperature control within one degree accuracy. These sophisticated systems can store multiple programming schedules, allowing users to customize heating and cooling patterns based on daily routines and seasonal requirements. Built-in memory functions retain settings even during power outages, ensuring consistent performance and user preferences. The digital display provides real-time feedback on system status, current temperature, and programmed settings, making temperature management more intuitive and efficient than traditional analog alternatives.
Compatibility Assessment and System Requirements
Before purchasing a digital thermostat, conducting a thorough compatibility assessment ensures proper integration with existing HVAC systems. Most digital thermostats work with standard 24-volt heating and cooling systems, including gas furnaces, electric heat pumps, and central air conditioning units. However, some specialized systems such as electric baseboard heaters, radiant floor heating, or high-voltage equipment may require specific digital thermostat models designed for those applications. Checking wire configurations at the existing thermostat location helps determine compatibility and identify any additional wiring requirements.
System voltage requirements represent another critical compatibility factor when selecting a digital thermostat. Standard residential HVAC systems operate on low-voltage 24VAC power supplied through a transformer in the furnace or air handler. Commercial applications may involve different voltage requirements or more complex control schemes. The existing wire count and terminal designations provide valuable information about system capabilities and help identify which digital thermostat features will function properly. Professional consultation may be necessary for complex installations or when upgrading from older mechanical systems to modern digital control technology.
Pre-Installation Preparation and Safety Measures
Electrical Safety Protocols and Power Management
Safety preparation forms the foundation of any successful digital thermostat installation project. The first critical step involves shutting off electrical power to the HVAC system at both the thermostat and the furnace or air handler locations. Locate the appropriate circuit breakers in the main electrical panel and switch them to the off position. Additionally, turn off the power switch at the furnace or air handler unit itself. Using a non-contact voltage tester, verify that no electrical current flows through the thermostat wires before beginning any installation work.
Proper tool preparation and workspace organization contribute significantly to installation safety and efficiency. Gather essential tools including wire strippers, screwdrivers, a drill with appropriate bits, a level, and electrical tape. Keep wire nuts, mounting screws, and spare wire segments readily available. Ensure adequate lighting in the work area and maintain a clean workspace free from clutter. Having a digital multimeter available allows verification of wire continuity and system voltages during troubleshooting. These preparation steps minimize installation time and reduce the likelihood of complications during the digital thermostat setup process.
Documentation and Wire Identification Procedures
Thorough documentation of existing wiring configurations prevents confusion and ensures proper connections during digital thermostat installation. Take clear photographs of the current thermostat wiring before disconnecting anything, capturing both the terminal connections and wire colors. Create a written diagram showing which colored wires connect to specific terminal letters such as R, W, Y, G, and C. This documentation serves as a valuable reference throughout the installation process and provides troubleshooting information if issues arise later.
Wire identification becomes particularly important when dealing with older installations or non-standard wiring configurations. Common wire colors follow industry standards with red typically indicating power, white for heating, yellow for cooling, green for fan control, and blue or black for common connections. However, some installations may use different color schemes or additional wires for advanced features. Testing wire continuity with a multimeter helps verify proper identification and ensures correct connections to the new digital thermostat terminals. Proper labeling of each wire during removal simplifies the connection process and reduces installation errors.
Step-by-Step Digital Thermostat Installation Process
Removing the Existing Thermostat System
The removal process for an existing thermostat requires careful attention to preserve existing wiring and avoid damage to wall surfaces. Begin by removing the thermostat's front cover or display unit, which typically detaches by pulling straight out or lifting upward depending on the mounting design. Locate the wire connections at the back of the unit and carefully disconnect each wire from its terminal. Avoid pulling on the wires themselves; instead, loosen terminal screws or release wire connectors to free each connection safely.
After disconnecting all wires, remove the mounting base or backplate from the wall by unscrewing the mounting screws. Pull the wires through the center opening and secure them temporarily to prevent them from falling back into the wall cavity. Inspect the existing mounting holes and wall surface condition to determine whether the new digital thermostat can use the same mounting location. Clean any debris or old paint from the mounting area and ensure the wall surface is level and suitable for the new installation. If wall patching or preparation is needed, complete these tasks before proceeding with the digital thermostat mounting.
Installing and Configuring the New Digital Control System
Installing the new digital thermostat begins with properly positioning and securing the mounting base or backplate. Hold the base against the wall in the desired location and use a level to ensure proper alignment. Mark the mounting screw locations with a pencil and drill pilot holes if necessary. Secure the base to the wall using appropriate screws for your wall type, ensuring the base sits flush and level. Thread the system wires through the center opening of the mounting base, leaving sufficient wire length for easy connection to the terminals.
Wire connections to the new digital thermostat must follow the manufacturer's specifications and terminal designations. Connect each wire to its corresponding terminal based on your documentation and the system requirements. Typical connections include the R wire to the power terminal, W wire to the heating terminal, Y wire to the cooling terminal, and G wire to the fan terminal. If your system includes a C wire for continuous power, connect it to the common terminal. Ensure all connections are tight and secure, with no bare wire exposed outside the terminal connections.
After completing all wire connections, carefully position the digital thermostat display unit onto the mounting base. Most units snap or slide into place with a distinctive click or engagement feeling. Once the unit is properly seated, restore power to the HVAC system at both the circuit breaker and the furnace switch. The digital thermostat should power up and display the current temperature reading within a few moments. Initial configuration typically involves setting the current time, selecting temperature units, and programming basic operational parameters according to the manufacturer's instructions.
Programming and Optimization Strategies
Initial Setup and Basic Programming Functions
The initial setup process for a digital thermostat involves configuring fundamental operational parameters that ensure proper system function. Begin by setting the current date and time, which enables accurate scheduling and energy-saving features. Select the appropriate temperature units between Fahrenheit and Celsius based on your preference and local conventions. Configure the system type settings to match your HVAC equipment, such as gas furnace, heat pump, or dual-fuel systems. These basic settings establish the foundation for all subsequent programming and operational functions.
Programming basic temperature schedules represents one of the most valuable features of modern digital thermostat technology. Create daily schedules that automatically adjust temperatures based on occupancy patterns and comfort preferences. Typical programming includes wake-up temperatures, daytime settings while away, evening comfort levels, and nighttime energy-saving temperatures. Most digital thermostat models allow separate programming for weekdays and weekends, accommodating different lifestyle patterns. The precision control offered by digital systems enables temperature adjustments as small as one degree, optimizing both comfort and energy efficiency throughout each day.
Advanced Features and Energy Optimization Settings
Advanced digital thermostat features provide sophisticated control options that maximize system efficiency and user convenience. Adaptive learning capabilities allow the digital thermostat to analyze heating and cooling patterns, automatically adjusting operation timing to achieve desired temperatures exactly when needed. Smart recovery features begin heating or cooling cycles early enough to reach programmed temperatures at scheduled times, compensating for system capacity and environmental conditions. These intelligent functions reduce energy consumption while maintaining consistent comfort levels throughout the occupied periods.
Filter change reminders and maintenance alerts help maintain optimal HVAC system performance and extend equipment life. Many digital thermostat models track system runtime hours and provide notifications when filter replacement or professional maintenance becomes due. Vacation modes allow temporary schedule overrides for extended absences, maintaining minimal energy usage while preventing extreme temperature conditions. Humidity control integration, where available, enables comprehensive comfort management beyond temperature alone. These advanced features transform the digital thermostat from a simple temperature control device into a comprehensive HVAC management system.
Troubleshooting Common Installation Issues
Electrical Connection Problems and Solutions
Electrical connection issues represent the most common complications encountered during digital thermostat installations. Loose wire connections can cause intermittent operation, incorrect temperature readings, or complete system failure. Carefully inspect each terminal connection to ensure wires are properly seated and screws are adequately tightened. Oxidized or corroded wire ends may prevent good electrical contact, requiring wire stripping and fresh connections. If the digital thermostat display remains blank after installation, verify that power wires are correctly connected and that system power is restored at all circuit breakers and switches.
Incorrect wire identification or connections can result in various operational problems with the digital thermostat system. Common symptoms include heating activation during cooling calls, continuous fan operation, or failure to respond to temperature adjustments. Refer to your installation documentation and verify that each wire connects to the correct terminal designation. Some digital thermostat models include diagnostic features that can identify wiring errors or system problems. Using a multimeter to test wire continuity between the thermostat and HVAC equipment helps isolate connection problems and verify proper system wiring.
System Compatibility and Performance Issues
Compatibility problems may manifest as erratic operation, shortened equipment cycles, or inability to maintain desired temperatures with the new digital thermostat. Heat pump systems, in particular, require specific digital thermostat models designed to manage both heating and cooling functions along with auxiliary heat control. Verify that your selected digital thermostat model supports all the features and functions required by your HVAC system configuration. Some older systems may require additional wiring or control modifications to work properly with modern digital thermostat technology.
Performance issues with digital thermostat installations often relate to incorrect system configuration or programming errors. Temperature swings, short cycling, or inadequate heating and cooling capacity may indicate improper setup parameters. Review the system type settings, temperature differential adjustments, and cycle timing configurations in the digital thermostat programming menu. Consult the manufacturer's installation manual for specific configuration recommendations based on your HVAC equipment type. Professional assistance may be necessary for complex systems or persistent performance problems that cannot be resolved through standard troubleshooting procedures.
Maintenance and Long-Term Performance Optimization
Regular Maintenance Procedures and Best Practices
Maintaining optimal performance from your digital thermostat requires regular attention to both the device itself and the overall HVAC system integration. Monthly inspection of the digital thermostat display, buttons, and general condition helps identify potential issues before they affect system operation. Clean the display screen and housing with a soft, dry cloth to maintain clear visibility and proper appearance. Verify that all programmed schedules remain accurate and adjust them seasonally or as lifestyle patterns change. Regular battery replacement, where applicable, ensures continuous operation and prevents loss of programmed settings during power outages.
System calibration checks help maintain accuracy and optimal performance from your digital thermostat installation. Compare the displayed temperature with readings from a reliable thermometer placed near the thermostat location. Most digital thermostat units allow calibration adjustments to correct minor temperature discrepancies caused by mounting location or sensor variations. Document any calibration changes and monitor system performance to ensure continued accuracy. Professional calibration services may be beneficial for critical applications or when precise temperature control requirements cannot be achieved through standard adjustments.
Seasonal Adjustments and Energy Efficiency Optimization
Seasonal programming adjustments maximize energy efficiency and comfort throughout the year with your digital thermostat system. Spring and fall seasons provide opportunities to update heating and cooling schedules, taking advantage of moderate outdoor temperatures to reduce HVAC runtime. Summer programming should emphasize cooling efficiency while maintaining acceptable comfort levels during peak demand periods. Winter schedules can focus on heating efficiency with appropriate setback temperatures during unoccupied periods. The precision control offered by digital thermostat technology enables fine-tuning that can result in significant energy savings over time.
Energy usage monitoring and analysis help optimize digital thermostat programming for maximum efficiency and cost savings. Many modern digital thermostat models provide energy usage reports and efficiency recommendations based on actual system performance data. Review these reports regularly to identify opportunities for improved programming or operational adjustments. Consider implementing longer setback periods during extended absences or adjusting temperature differentials to reduce system cycling frequency. The investment in a quality digital thermostat installation pays dividends through improved comfort, enhanced system reliability, and reduced energy consumption over the equipment's operational lifetime.
FAQ
What tools do I need to install a digital thermostat
Installing a digital thermostat requires basic electrical tools including wire strippers, screwdrivers (both flathead and Phillips), a drill with appropriate bits, and electrical tape. You'll also need a non-contact voltage tester for safety, a level for proper mounting alignment, and wire nuts for secure connections. Having a digital multimeter available helps troubleshoot any wiring issues, while a flashlight or headlamp ensures adequate visibility in darker installation areas.
Can I install a digital thermostat myself or do I need a professional
Most homeowners can successfully install a digital thermostat themselves if they have basic electrical knowledge and follow proper safety procedures. The installation involves connecting low-voltage wires and doesn't typically require electrical licensing. However, if you're uncomfortable working with electrical systems, have complex HVAC equipment, or encounter unexpected wiring configurations, hiring a professional HVAC technician ensures safe and proper installation while maintaining equipment warranties.
How do I know if my existing wiring is compatible with a digital thermostat
Check your existing thermostat wiring to determine compatibility with a digital thermostat system. Most modern installations use standard color-coded wires connecting to terminals labeled R, W, Y, G, and sometimes C for common power. Count the number of wires and verify they match the requirements of your chosen digital thermostat model. Systems with only two wires may require additional wiring or a battery-powered digital thermostat, while complex zoning systems might need specialized control units.
What should I do if my digital thermostat display is blank after installation
A blank display on a newly installed digital thermostat typically indicates power supply issues or incorrect wiring connections. First, verify that all circuit breakers and system switches are turned on and that the R wire is properly connected to provide power to the unit. Check that all wire connections are tight and properly seated in their terminals. If your system lacks a C wire for continuous power, the digital thermostat may require batteries or a different model designed for your specific wiring configuration.
Table of Contents
- Understanding Digital Thermostat Components and Requirements
- Pre-Installation Preparation and Safety Measures
- Step-by-Step Digital Thermostat Installation Process
- Programming and Optimization Strategies
- Troubleshooting Common Installation Issues
- Maintenance and Long-Term Performance Optimization
- FAQ