
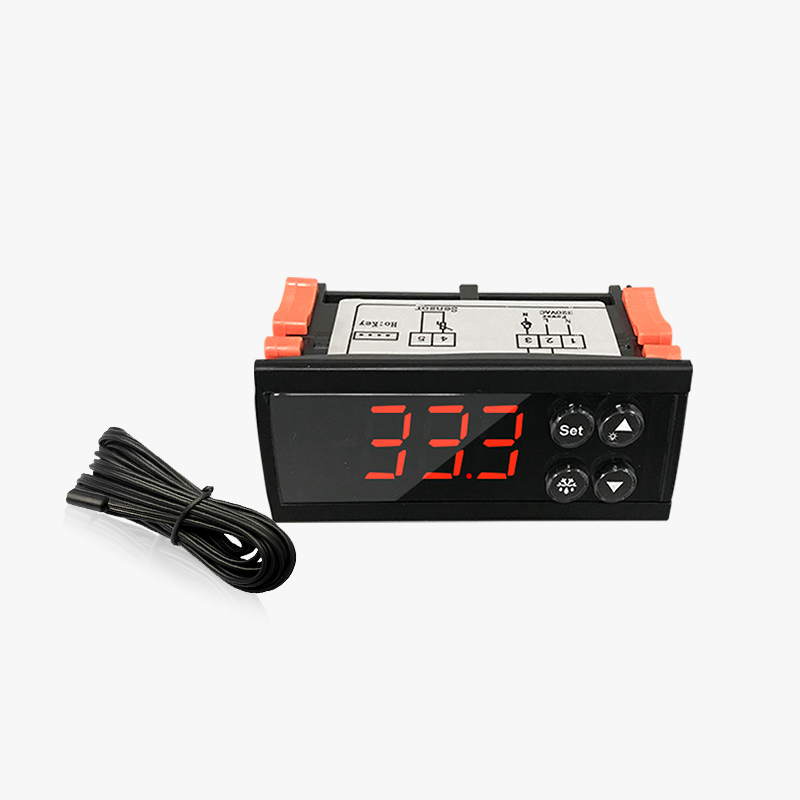
When your refrigeration or climate control system requires an eliwell controller replacement, the process demands careful attention to detail and troubleshooting expertise. Many technicians and facility managers encounter unexpected complications during eliwell controller replacement procedures, ranging from compatibility mismatches to installation errors that compromise system performance. Understanding the root causes of common eliwell controller replacement failures and knowing how to systematically diagnose and resolve them can save your operation significant downtime and unnecessary replacement costs.
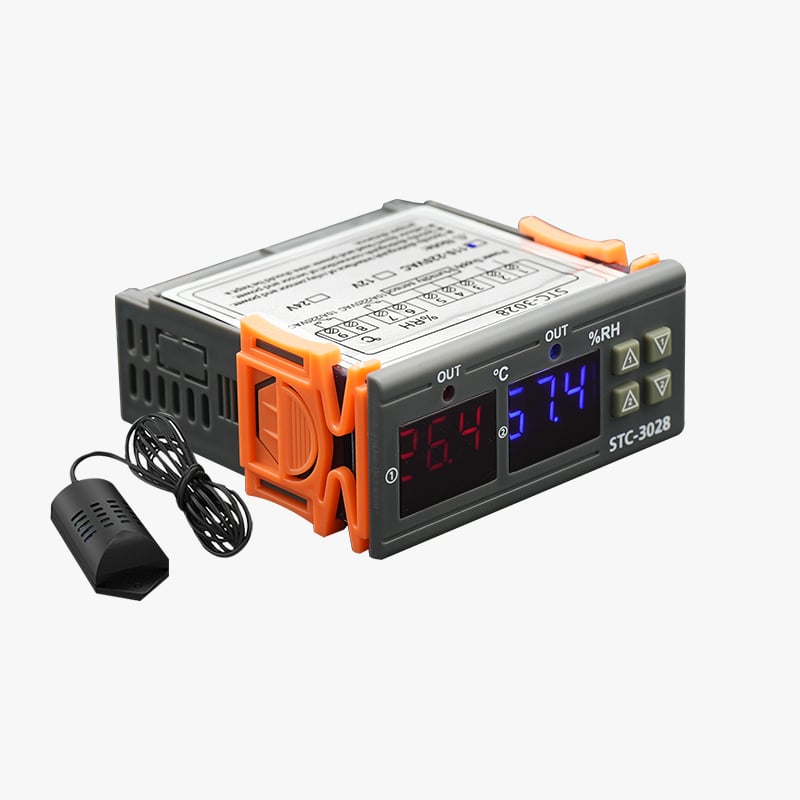
An eliwell controller replacement involves more than simply swapping out old hardware for new equipment. The procedure encompasses electrical verification, sensor calibration, software configuration, and integration testing to ensure seamless system continuity. This troubleshooting guide equips you with practical strategies to identify problems early, verify that your eliwell controller replacement matches your system specifications, and implement solutions that restore optimal functionality quickly and reliably.
Diagnosing Pre-Replacement Assessment Issues
Verifying Controller Compatibility Before Installation
Before initiating an eliwell controller replacement, you must confirm that the new unit matches your existing system architecture precisely. Many troubleshooting problems stem from incompatibility between the replacement controller and legacy sensors, power configurations, or communication protocols. An eliwell controller replacement requires checking voltage requirements, sensor input types, relay configurations, and output specifications against your original equipment documentation to prevent installation failures.
Document the exact model number, voltage rating, sensor connection type, and relay capacity of your current controller before ordering an eliwell controller replacement unit. Cross-reference these specifications with the replacement model to confirm electrical and functional compatibility. Mismatches in these areas represent the most common trigger for eliwell controller replacement complications that emerge after installation, requiring costly corrections or additional replacement procedures.
Assessing Existing Wiring and Connection Standards
Your existing wiring infrastructure must support the eliwell controller replacement without modification or adapter complications. Examine terminal configurations, wire gauges, and connector styles on your current system before executing the eliwell controller replacement. Some installations use legacy connectors or non-standard wire terminations that require careful transition planning during the eliwell controller replacement process to avoid electrical faults or intermittent connection failures.
Create detailed wiring diagrams and photographs of your existing connections before beginning the eliwell controller replacement. These reference materials prove invaluable when troubleshooting unexpected behavior after installation. An eliwell controller replacement installation that rushes past this documentation step frequently encounters mysteries during testing that consume hours of diagnostic time.
Resolving Common Installation and Configuration Problems
Addressing Sensor Signal Problems After Eliwell Controller Replacement
Sensor signal errors represent the most frequently encountered category of eliwell controller replacement troubleshooting challenges. After installing your eliwell controller replacement, the system may display incorrect temperature readings, fail to detect sensors entirely, or show unstable input fluctuations. These problems typically indicate improper sensor connection, incorrect sensor type configuration in the replacement unit's software settings, or damaged wiring that occurred during the eliwell controller replacement installation process.
Begin troubleshooting by measuring continuity and resistance across each sensor connection with a multimeter to verify electrical integrity. An eliwell controller replacement that reads sensor values erratically may require recalibrating sensor input ranges through the controller's menu system. If your eliwell controller replacement continues displaying sensor errors despite verified connections, the replacement unit itself may be defective and require expedited return under warranty terms.
Resolving Relay and Output Control Failures
Output control failures after an eliwell controller replacement installation typically manifest as compressors, fans, or heating elements not responding to system commands. The replacement controller may not activate relays despite correct temperature conditions, or relays may pulse erratically instead of maintaining stable operation. These eliwell controller replacement troubleshooting scenarios often result from incorrect relay type configuration, insufficient relay capacity for connected loads, or improper ground connections that prevent reliable signal transmission.
Verify that each relay connected to your eliwell controller replacement matches the output type and capacity specified in your controller's documentation. Test relay coils independently by applying voltage directly to confirm they function properly outside the replacement unit's control circuit. If relay testing passes but your eliwell controller replacement still fails to activate outputs, recalibrate output thresholds and check that control logic sequences align with your system requirements.
Power Supply and Electrical Integration Troubleshooting
Diagnosing Power Delivery Problems During Eliwell Controller Replacement
Power supply inadequacy represents a critical yet often overlooked cause of eliwell controller replacement malfunction. The replacement unit requires stable input voltage within specified tolerances to maintain reliable operation. When your eliwell controller replacement exhibits erratic behavior, spontaneous restarts, or intermittent response failures, insufficient or unstable power delivery frequently bears responsibility. Many facilities discover these issues only after an eliwell controller replacement installation, when testing reveals voltage fluctuations that exceed acceptable parameters.
Use a digital multimeter to measure voltage at the power input terminals of your eliwell controller replacement under full operational load conditions. Compare these measurements against the controller's specified input range requirements. If measurements fall outside acceptable tolerances, your facility's power infrastructure may require upgrades such as dedicated circuit installation, voltage regulation equipment, or battery backup systems to ensure your eliwell controller replacement receives clean, stable power continuously.
Verifying Grounding and Electrical Safety After Replacement
Proper grounding protects your eliwell controller replacement investment and prevents electrical hazards that could damage connected equipment. An eliwell controller replacement installation that neglects grounding protocols risks static damage to sensitive electronics, electrical shock hazards, and erratic sensor readings caused by ground loop interference. Test grounding continuity from the replacement unit's ground terminal through building infrastructure to verify resistance remains below specifications.
Inspect that your eliwell controller replacement shares a common ground reference with all connected sensors and control devices to eliminate potential ground loop complications. This unified grounding architecture ensures reliable signal transmission and protects sensitive input circuits within the replacement unit. Inadequate grounding represents a frequently overlooked eliwell controller replacement troubleshooting factor that creates subtle problems difficult to diagnose without systematic electrical testing.
FAQ
What should I check immediately after an eliwell controller replacement installation?
After completing an eliwell controller replacement installation, immediately verify sensor readings against known reference values, test all relay outputs manually using the controller menu, confirm stable power input voltage within specifications, and review system logs for error messages. Allow your eliwell controller replacement to operate through at least one complete temperature cycle before returning to normal operation. Many eliwell controller replacement issues manifest during extended runtime rather than during initial power-on tests, so comprehensive observation during this verification phase prevents operational failures.
How do I know if an eliwell controller replacement is failing versus a sensor problem?
Isolate whether your eliwell controller replacement unit or connected sensors bear responsibility by testing sensors independently outside the replacement controller. Measure sensor resistance values with a multimeter and compare against manufacturer specifications. If sensor measurements match expected ranges but your eliwell controller replacement displays incorrect readings, the replacement unit likely has input circuit damage. Conversely, if sensor measurements deviate from specifications, the sensor requires replacement rather than troubleshooting the eliwell controller replacement further.
Can I use my old wiring and connectors with a new eliwell controller replacement?
Compatibility between your eliwell controller replacement and existing wiring depends on connector types, wire gauges, and electrical specifications of the original installation. Some facilities can use legacy wiring with an eliwell controller replacement through adapter cables or terminal block configurations, while others require partial rewiring to match the replacement unit's specifications. Consult your eliwell controller replacement documentation and compare terminal configurations against your existing wiring before assuming direct compatibility, as mismatches create unreliable connections that complicate troubleshooting.