How to Install a Digital Thermostat: A Step-by-Step Guide by SHTROL Experts
Sep 14, 2026
Date: September 2026
Installing a digital thermostat or temperature controller is a straightforward process that can significantly improve the efficiency and reliability of your refrigeration system. Whether you're upgrading from a mechanical thermostat or installing a new smart WiFi controller, this step-by-step guide from the SHTROL engineering team will help you get it right.
Xuzhou Sanhe Automatic Control Equipment Co., Ltd. (SHTROL) has manufactured temperature controllers since 2004, with over 1 million units exported to 100+ countries. Our controllers are designed for easy installation, and we provide comprehensive documentation and technical support for every product.
Before You Begin: Safety First
Turn off power to the refrigeration unit at the circuit breaker before starting any electrical work
Verify voltage is disconnected with a multimeter
Review the wiring diagram included with your controller
Our most popular model, designed with installer-friendly features:
Standard 60×45mm panel cutout size (fits most existing openings)
Color-coded wiring terminals with clear labels
Plug-and-play WiFi configuration via mobile app
Detailed quick-start guide with wiring diagrams
No special tools required for basic installation
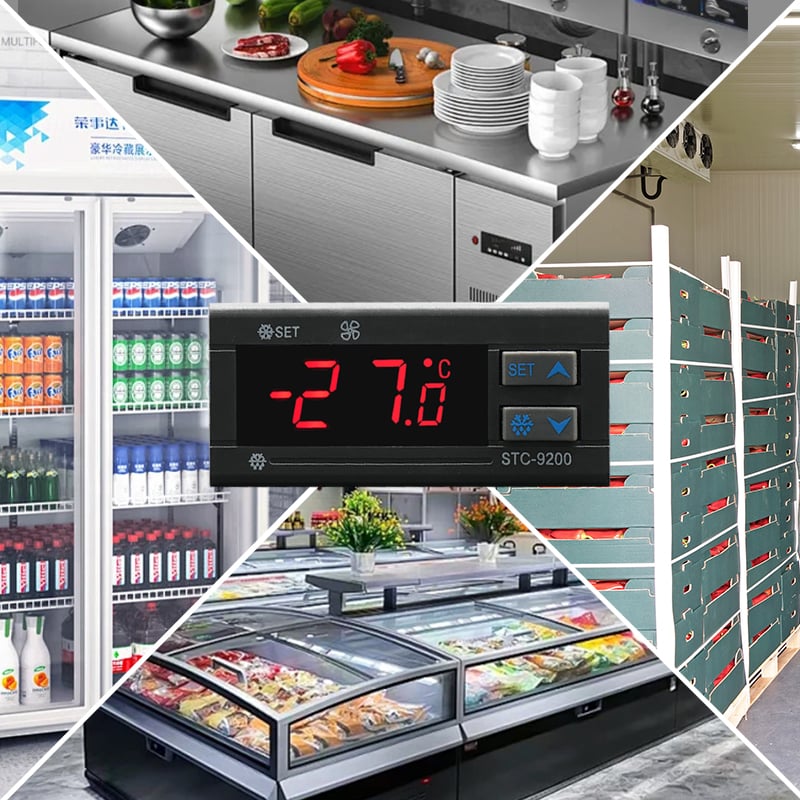
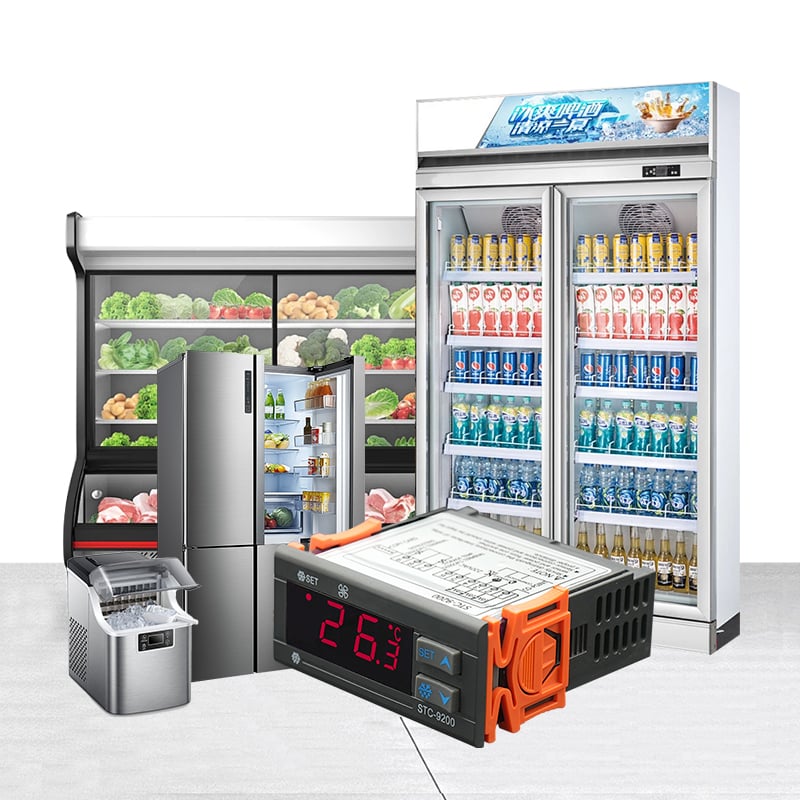
STC-9200 Digital Temperature Controller
A simple, compact option for basic installations:
Universal mounting dimensions
Minimal wiring (power, sensor, compressor output)
Intuitive button interface with quick setup
Ideal for first-time installers
Step-by-Step Installation Guide
Step 1: Remove the Old Controller
Turn off power and verify it's disconnected
Remove the old controller's front panel or mounting bracket
Disconnect wires one at a time, labeling each with tape for reference
Remove the old controller from the panel cutout
Step 2: Prepare the Mounting Opening
Check the cutout dimensions against the new controller's requirements
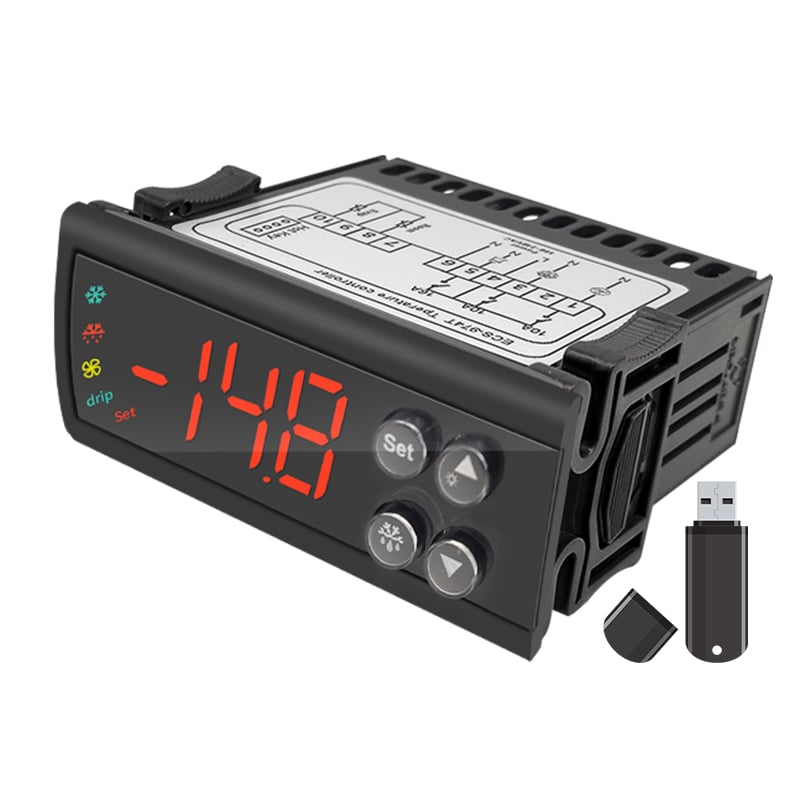
The ECS-974T fits a standard 60×45mm opening
If needed, use a file or nibbler to adjust the opening size
Clean the panel surface around the opening
Step 3: Wire the Controller
Refer to the wiring diagram on the controller's side label. Typical connections for the ECS-974T:
L/N terminals: Connect to AC power supply (110-240VAC)
Sensor terminals: Connect the NTC temperature sensor
Compressor output terminals: Connect to the compressor relay or contactor coil
Defrost output terminals: Connect to defrost heater (if used)
Fan output terminals: Connect to evaporator fan (if used)
Use appropriately rated wire (typically 16-18 AWG for power, 22-24 AWG for sensor)
Tighten all terminal screws securely
Step 4: Mount the Controller
Insert the controller into the panel cutout from the front
Secure with the included mounting brackets or clips
Ensure the controller sits flush and is firmly held
Do not overtighten mounting screws
Step 5: Connect the Temperature Sensor
Mount the NTC sensor in a representative location (typically near the evaporator or in the return air stream)
Avoid placing the sensor directly on cooling coils or near heat sources
Secure with zip ties or adhesive, ensuring good air circulation around the sensor tip
Route sensor wire away from power cables to avoid interference
Step 6: Power On and Configure
Restore power to the unit
The controller should power on and display the current temperature
Set the desired temperature using the SET and arrow buttons
Configure defrost settings, alarm thresholds, and other parameters per your application
For ECS-974T: Download the mobile app, connect to the controller's WiFi hotspot, and configure your WiFi network
Step 7: Test the System
Verify the compressor turns on when temperature is above set point
Verify the compressor turns off when set temperature is reached
Test the alarm by temporarily setting a high temperature threshold
For WiFi models: Confirm remote monitoring works on your smartphone
Monitor temperature stability over 24 hours
Common Installation Mistakes to Avoid
Sensor placement too close to coils or doors — causes inaccurate readings and short cycling
Loose wire connections — leads to intermittent failures and potential fire hazards
Incorrect voltage wiring — can permanently damage the controller
Forgetting to configure defrost — leads to ice buildup and poor cooling
Not testing alarms — defeats the purpose of having alarm functionality
Poor WiFi signal — for smart controllers, ensure the router is within range or use a WiFi extender
Professional Installation Support
While our controllers are designed for DIY installation, complex systems or multi-controller setups may benefit from professional installation. SHTROL offers:
Detailed installation manuals with diagrams for every model
Video tutorials for popular installation scenarios
Email and WhatsApp technical support from our engineering team
On-site installation training for bulk orders and distributor partners
"Installing a digital thermostat doesn't have to be complicated," says the SHTROL technical support team. "Our controllers are designed with the installer in mind—standard dimensions, clear labeling, and comprehensive documentation. And if you run into any issues, our engineers are just a message away."
Ready to upgrade? Explore the ECS-974T WiFi Temperature Controller and our full product lineup on our website, or contact our team for installation guidance.

 Hot News